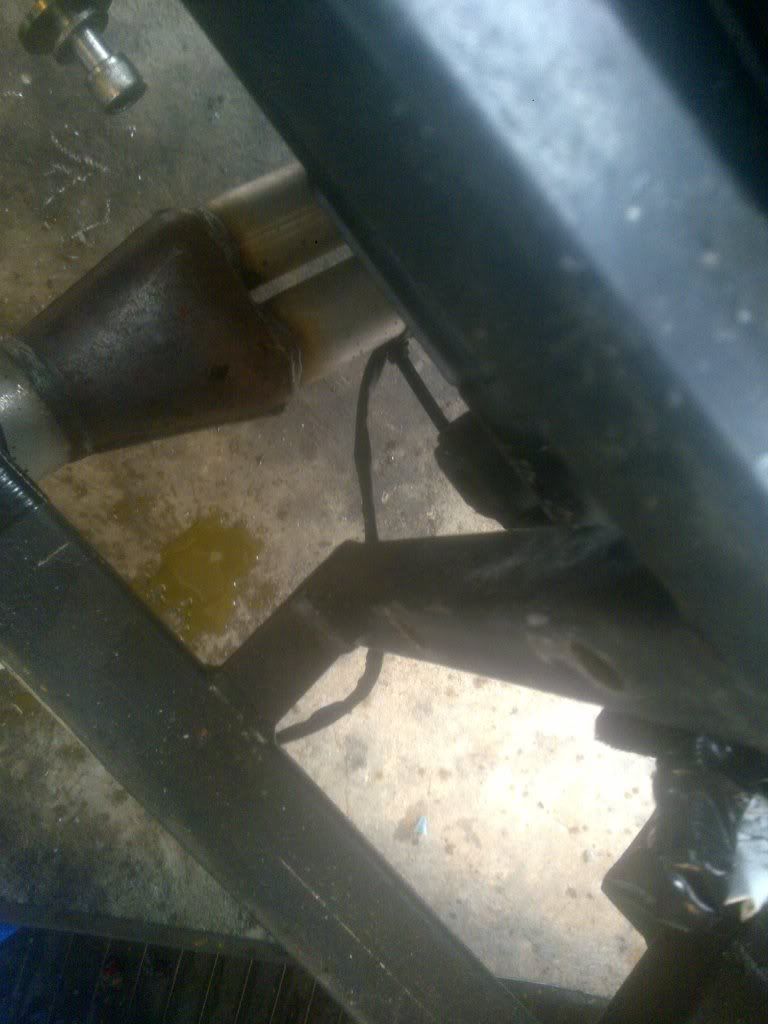
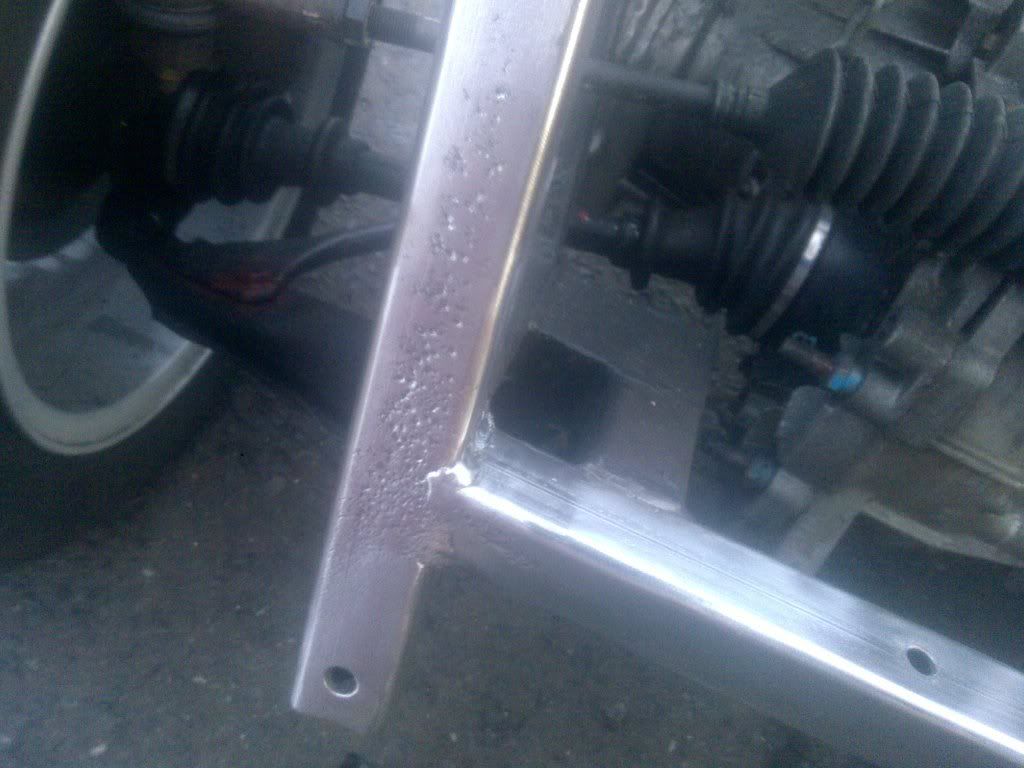
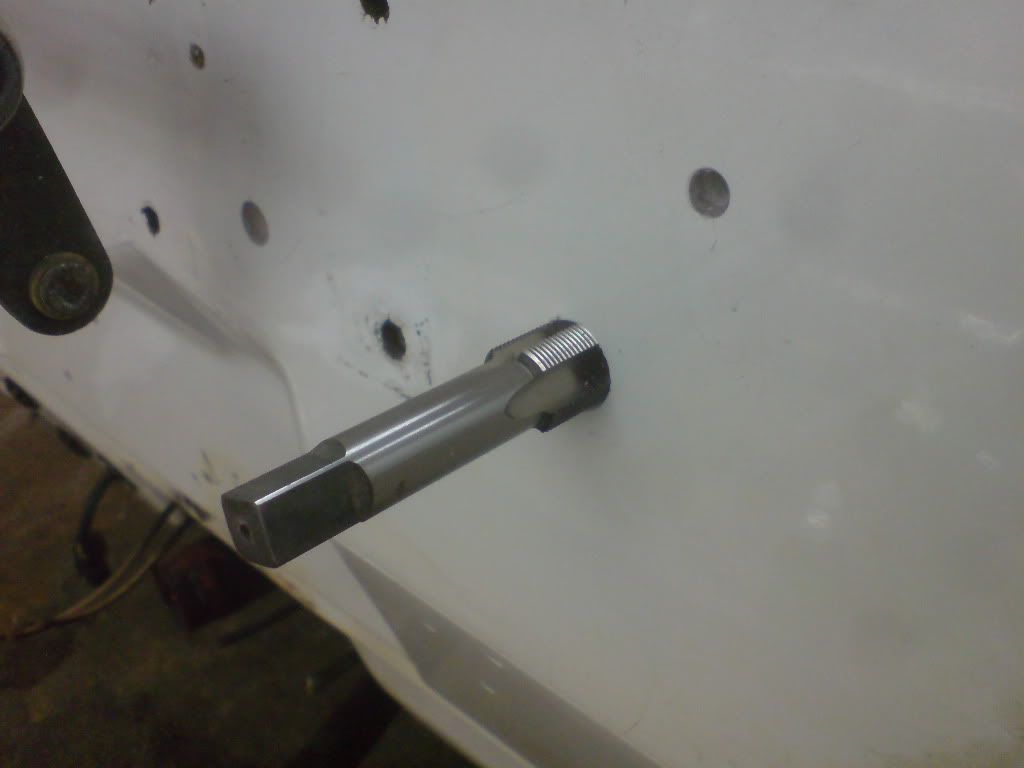
today's jobs

started to clean up the chassis at the rear,
unbolted the steering rack as the bolts ans washers looked a bit
tatty, lo and behold my worst suspicions were confirmed in that the
one vertical mounting tube was half full of water! probably since
there is nothing actually sealing the interior to the elements but
nothing actually allowing any accumulating water to leave either,
worryingly I've not got any aspect of the car wet for 4 months so god
knows how long this has been sitting there it certianly didnt taste
too nice when i blew it out with conpressed air, i drained the rest by
drilling the base and flushing with solvent, I've tapped the hole M6
to plug it once I've worked out a good way to seal the tube and bolt
holes
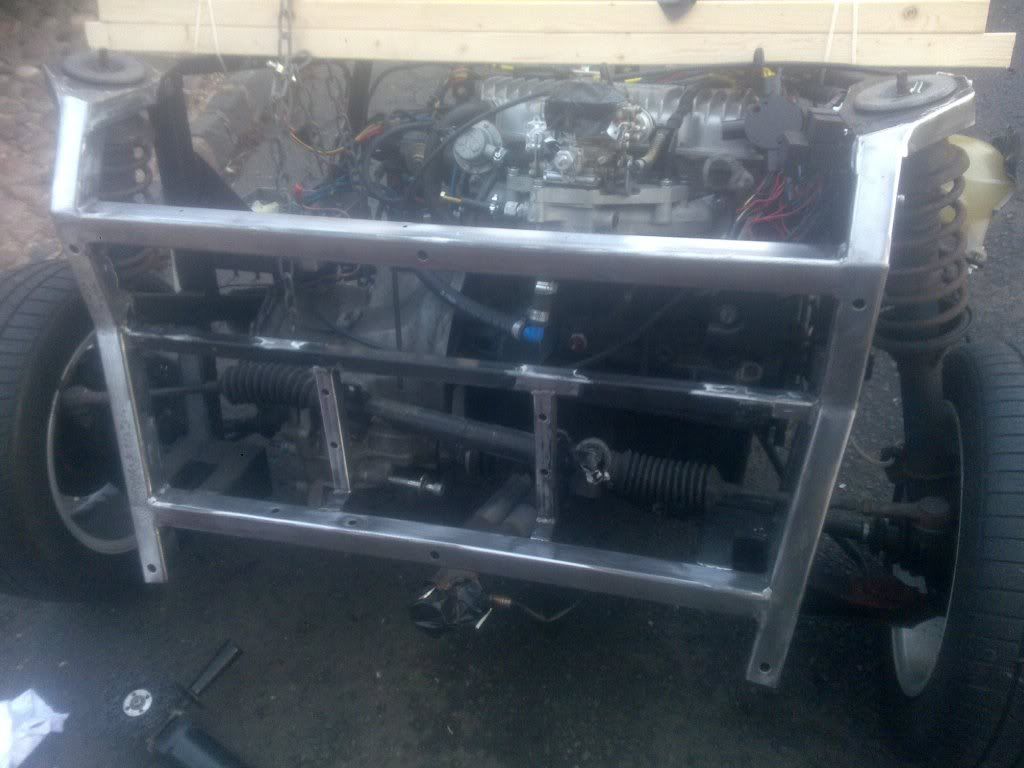
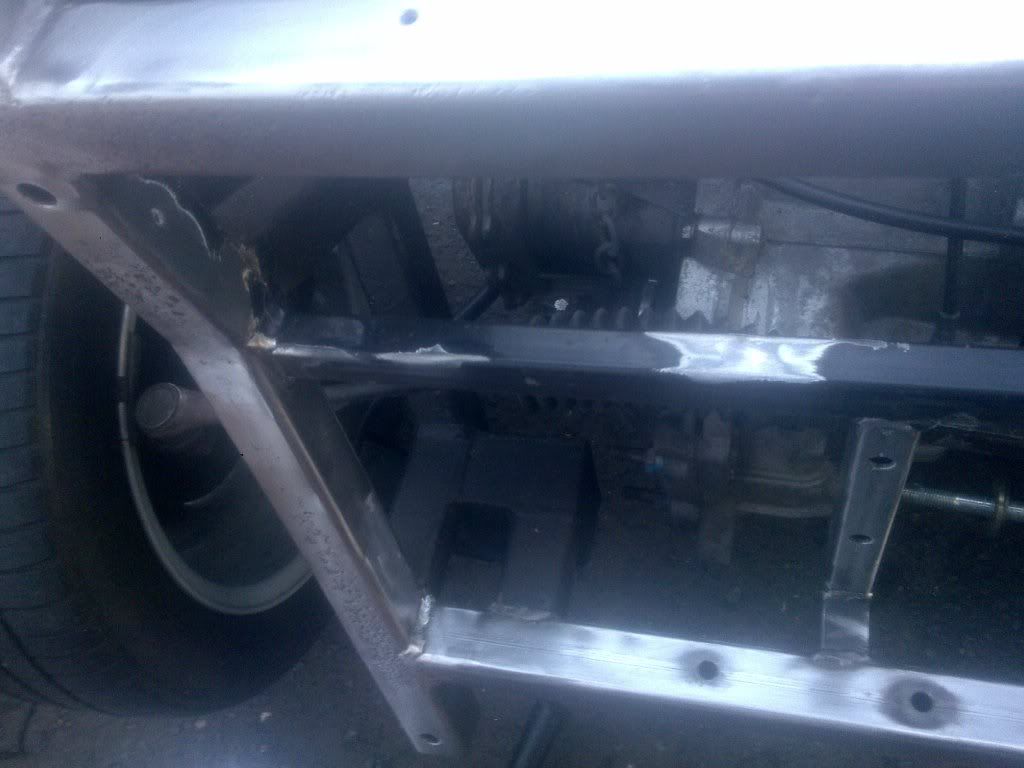
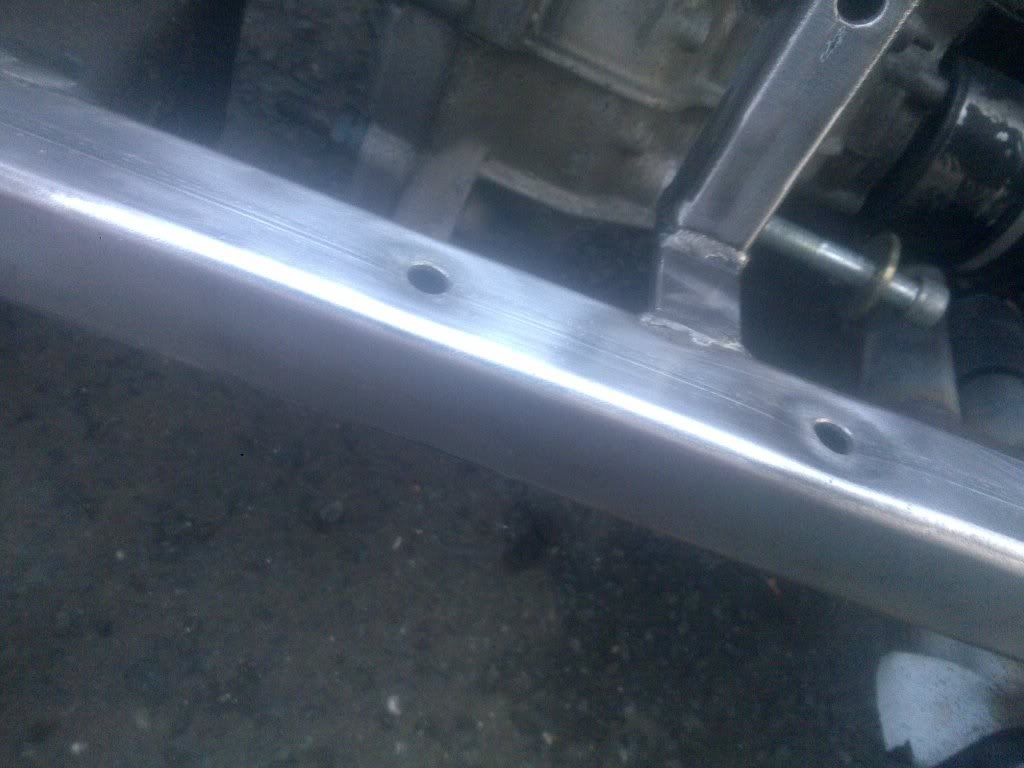
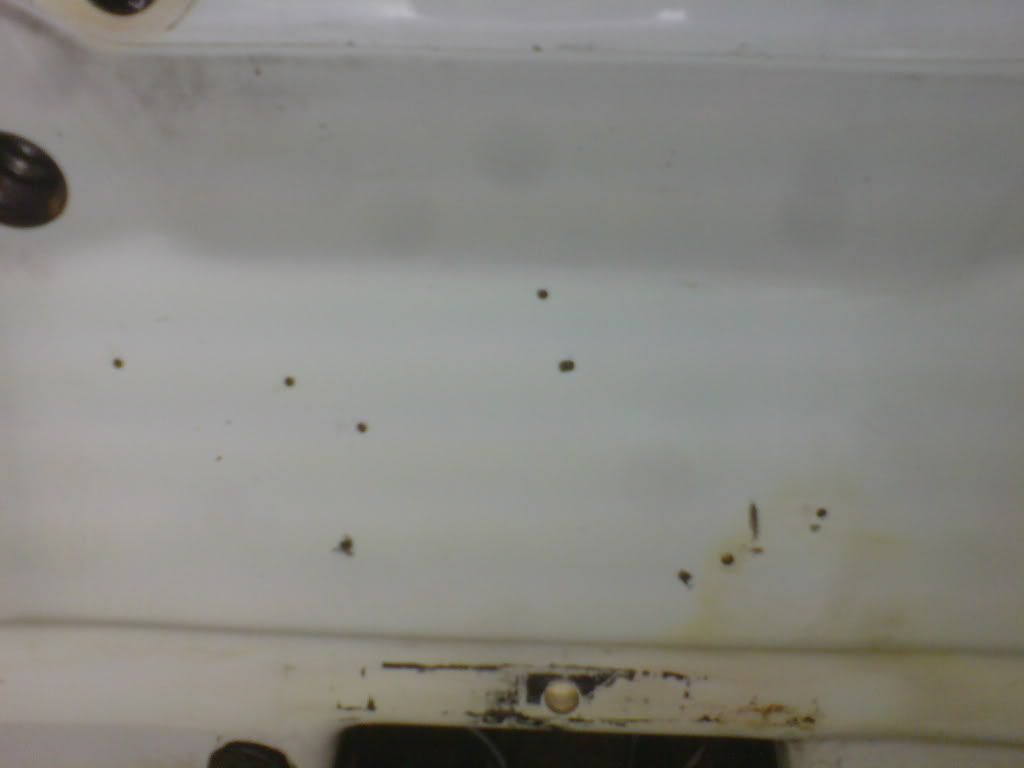
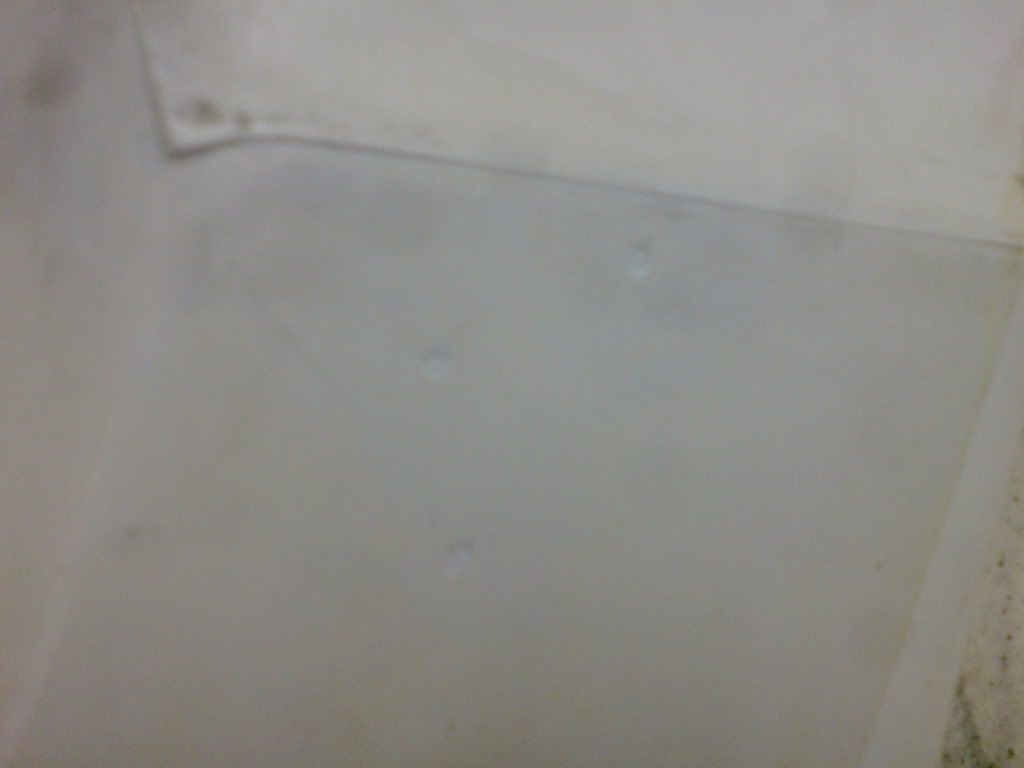
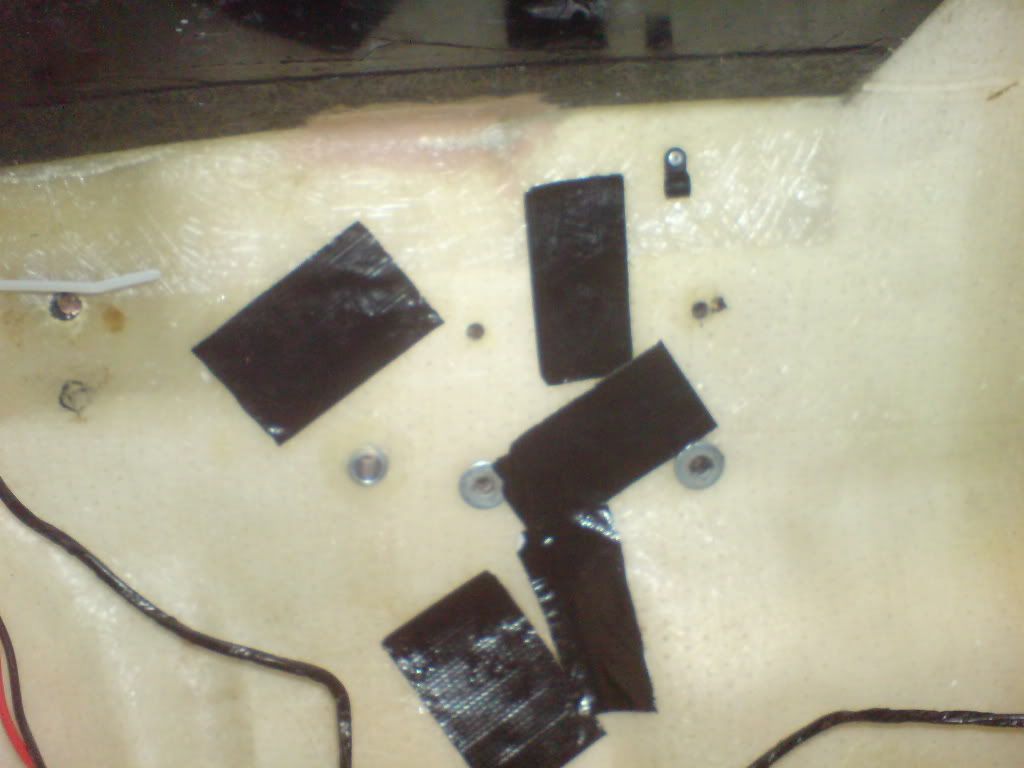
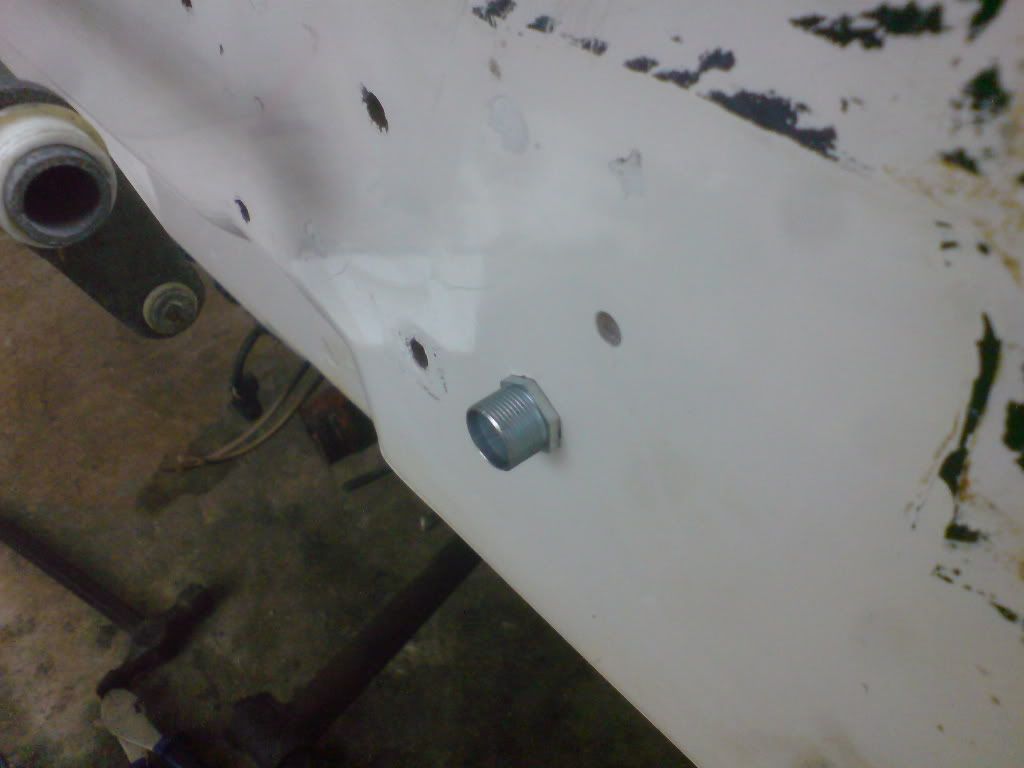
http://i120.photobucket.com/albums/o192/jindal/18022012035.jpg

then it was just a case of stripping the rust and paint back, it was
concerning as to how easy the original paint flaked off with just a
rudimentary scrub with a hand held wire brush, its a wonder its
survived this long, but the progress has been good

http://i120.photobucket.com/albums/o192/jindal/18022012039.jpg
http://i120.photobucket.com/albums/o192/jindal/18022012040.jpg
http://i120.photobucket.com/albums/o192/jindal/18022012041.jpg
http://i120.photobucket.com/albums/o192/jindal/18022012042.jpg

the bulk of the rust removal was done with one of these

http://www.frost.co.uk/automotive-cleaning-tools/stripping-disc-for-angle-grinder.html

really effective cuts and removes rust really well, i even tested it
on my finger just to check!

as you can see its pitted quite a bit so ill rely on the acid to
remove the last bits of rust from them but its all going to plan,
looks soo shiny its gonna be a shame to paint it

quick question, can anybody tell me exactly how to space the steering
rack so i can make proper spacers? a sensible person would have
measured it before unbolting it, i thought it would be obvious but it
looks like it would need spacing both sides to be even?

On Dec 30 2011, 2:40 pm, jin <jinmys...@btinternet.com> wrote:
> update
>
> ive removed the pop rivets and P clips that held the brake pipes on,
>
> http://i120.photobucket.com/albums/o192/jindal/DSC02331.jpg
>
>  they didn't fit too well and the pop rivets didn't go through the
> bulkhead so only served to swell out the fiberglass and let water and
> dirt in, evidenced by the dirt that had crept within the hole around
> the rivet, i chamferd the holes to remove the contaminated fiberglass
> and gelcoted from the outside with a thin layer
>
> http://i120.photobucket.com/albums/o192/jindal/DSC02333.jpg
>
> then filled the rear with slow set araldite to seal the join and
> hopefully put a bit more strength back in
>
> http://i120.photobucket.com/albums/o192/jindal/DSC02336.jpg
>
> the tape is just to stop it running out and keep it smooth
>
> cut out the first hole for my cable glands, i found a cone step drill
> very handy for enlarging holes (I'm using one of my extra? servo mount
> holes that were drilled but unused?) since they locate and don't
> wander about ripping the gel coat like normal twist drills, only thing
> to do is drill both sides sins the steps are shallow,
>
> http://i120.photobucket.com/albums/o192/jindal/DSC02332.jpg
>
> tapped it out to the right size
>
> and sealed the fiberglass with araldite resin and wound the gland in
>
> http://i120.photobucket.com/albums/o192/jindal/DSC02335.jpg
>
> then gave a wipe round the inside with more resin just to be sure,
> these should be very water proof now, this one will be for the wiper
> motor
>
> as for the brake pipes, I'm not too sure how I'm going to secure the P
> clips, I'm not going to use pop rivets fore sure, i may drill a few
> holes and tap a thread then wind in a stainless stud with araldite to
> seal unless anyone knows a batter way?
>
> cheers for any info

--
You received this message because you are subscribed to the Google Groups
"Quantum Owners Group" group.
To post to this group, send email to quantumowners@googlegroups.com
To unsubscribe from this group, send email to
quantumowners-unsubscr...@googlegroups.com
For more options, visit this group at
http://groups.google.com/group/quantumowners?hl=en

IMPORTANT NOTE: All information presented herewith is provided on an "As Is"
basis, without warranty or the implication thereof. Neither the Quantum Owners
Club nor the individuals associated with the Quantum Owners Club or in the
preparation of the above information shall have any liability to any person or
entity with respect to liability, loss, or damage caused or alleged to be
caused directly or indirectly by the instructions contained within this or
related message(s).