done some finishing (prior to new baby arrival, has taken this long to get
5 mins spare)
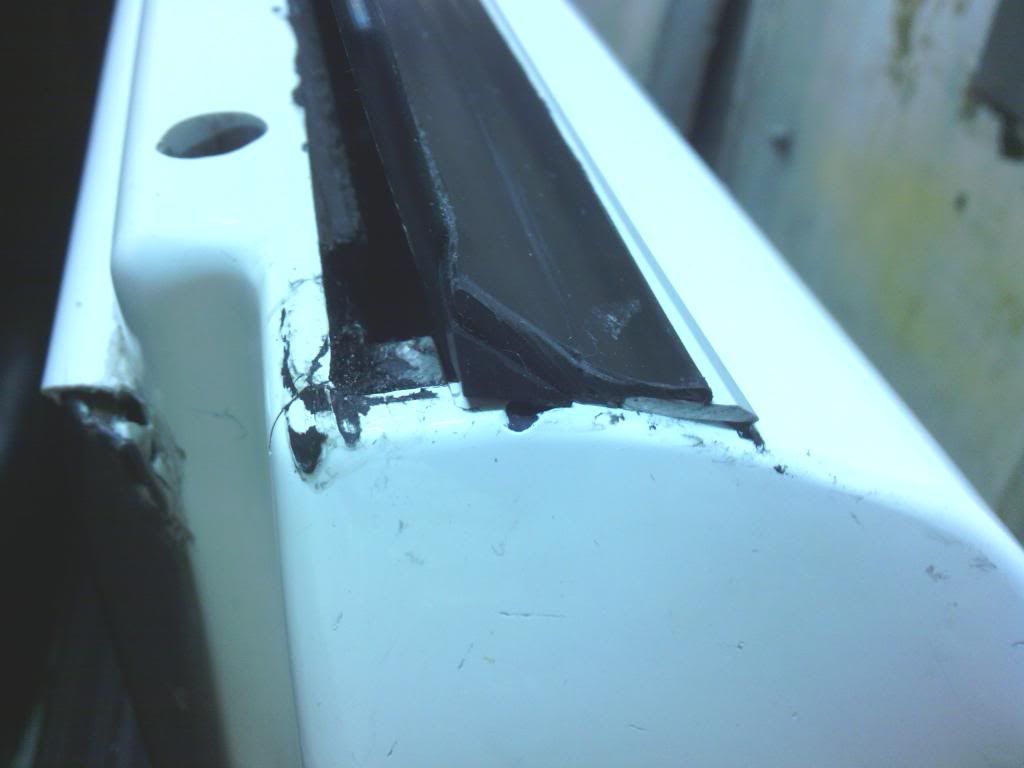
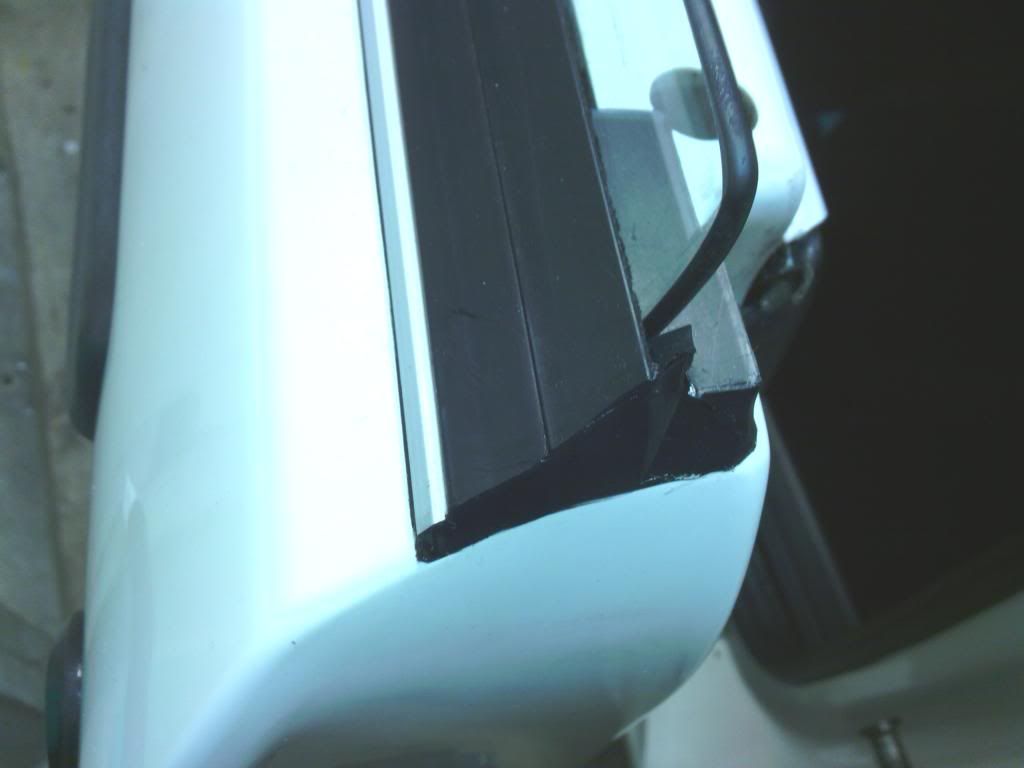
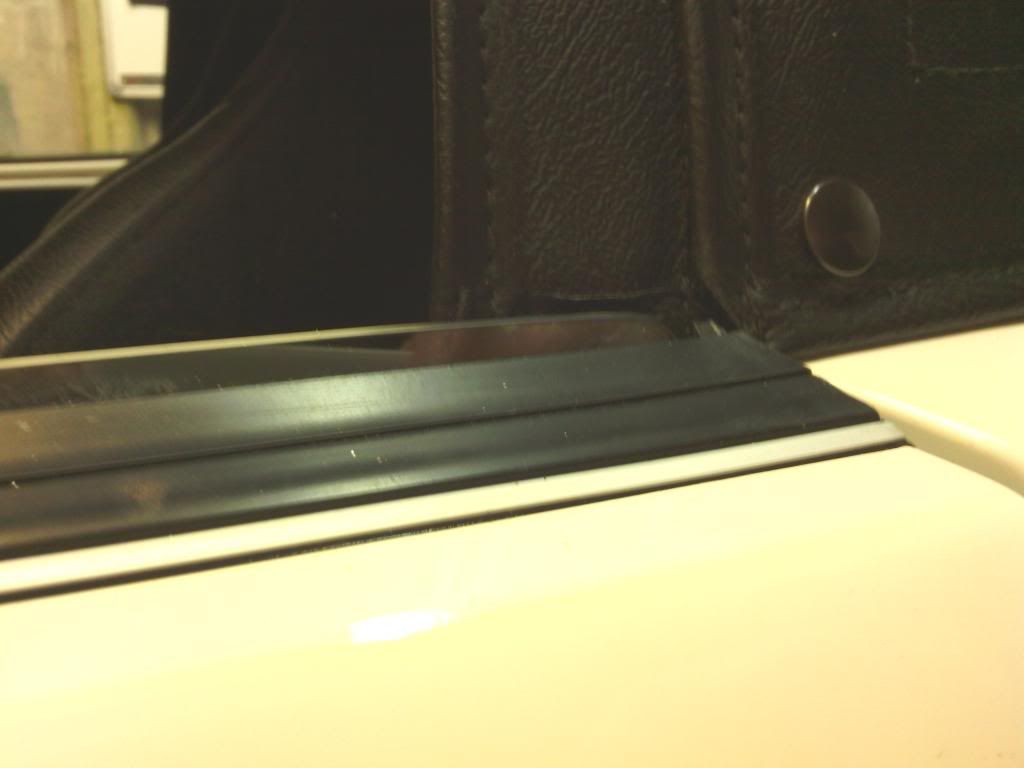
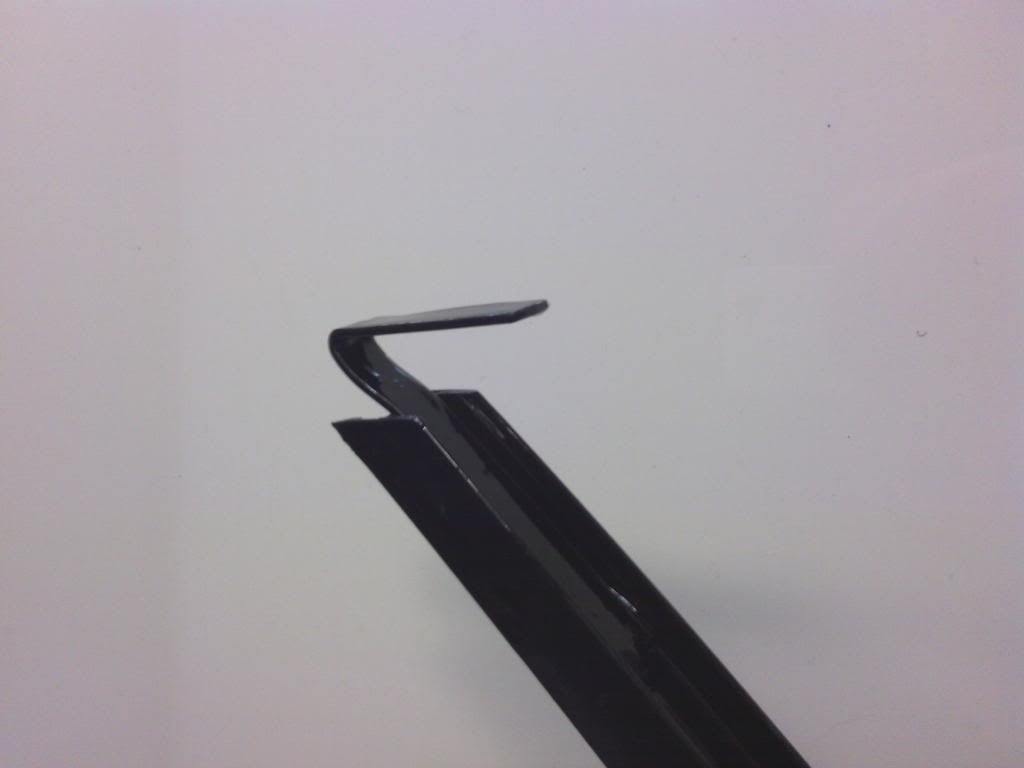
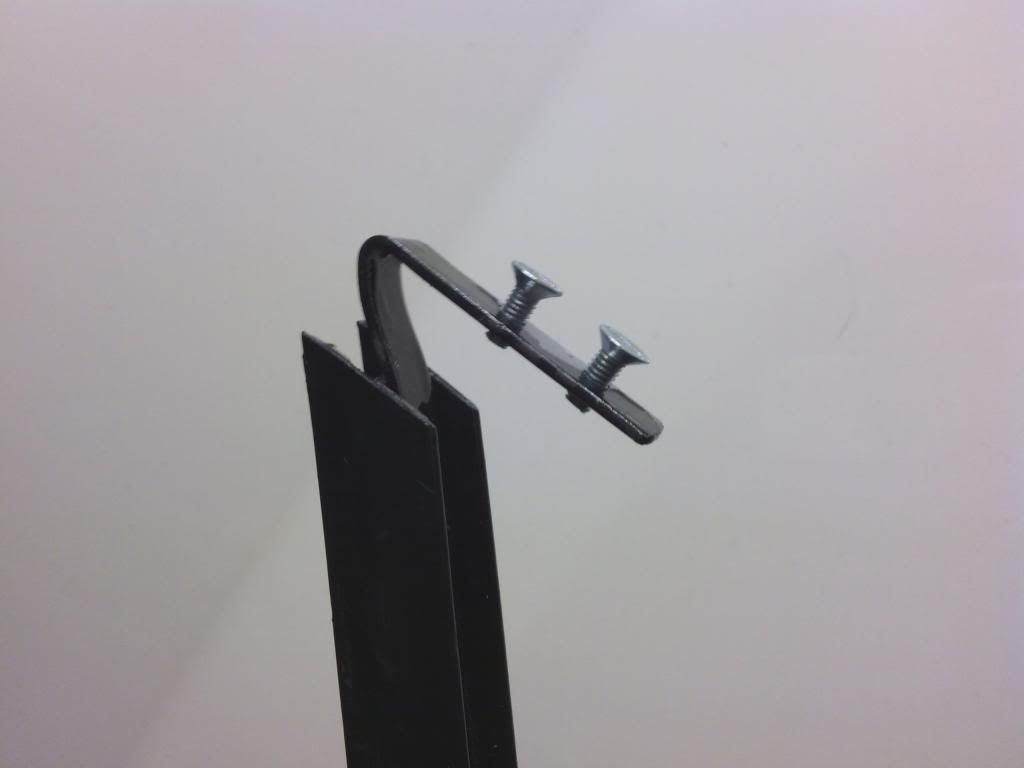
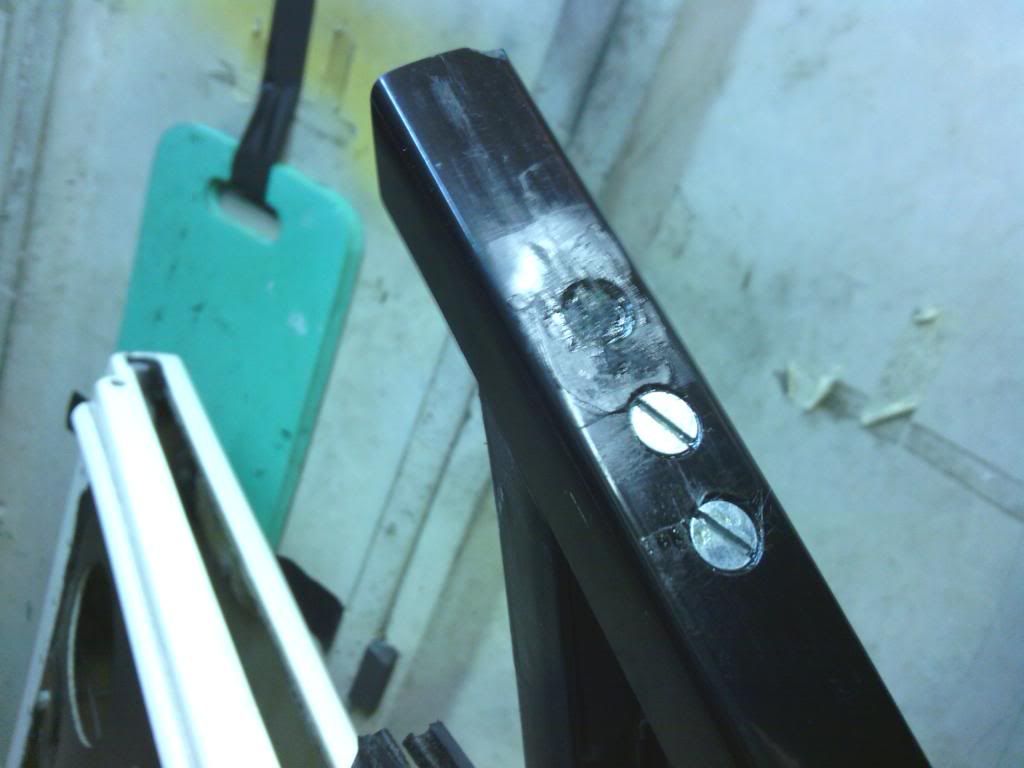
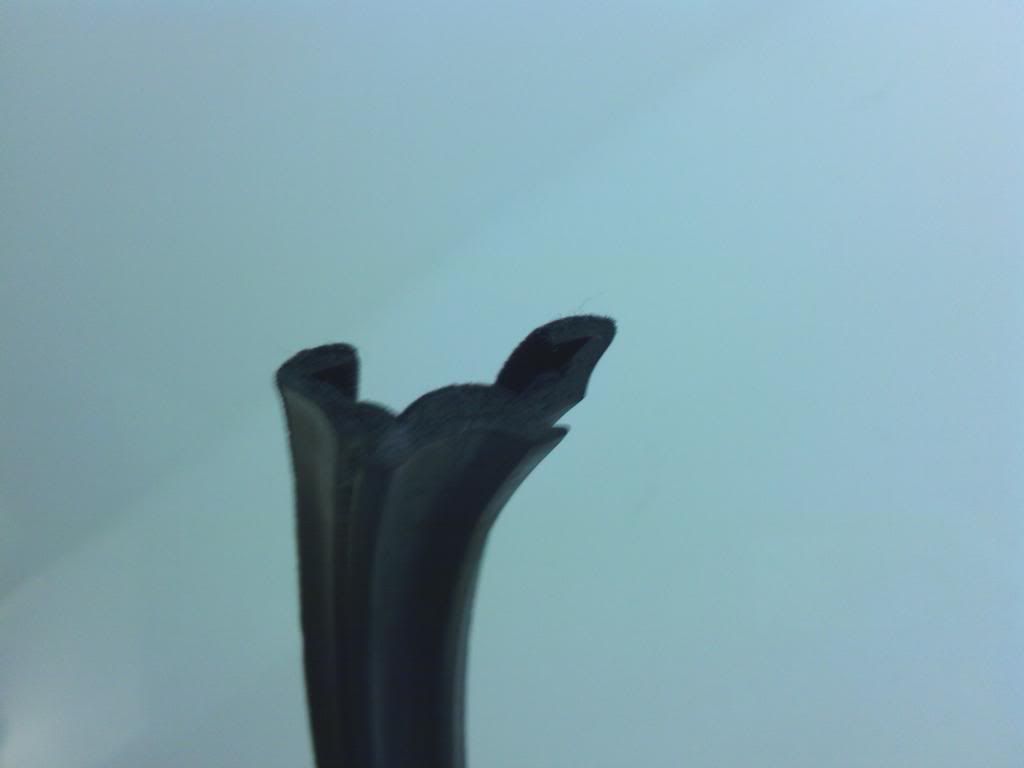
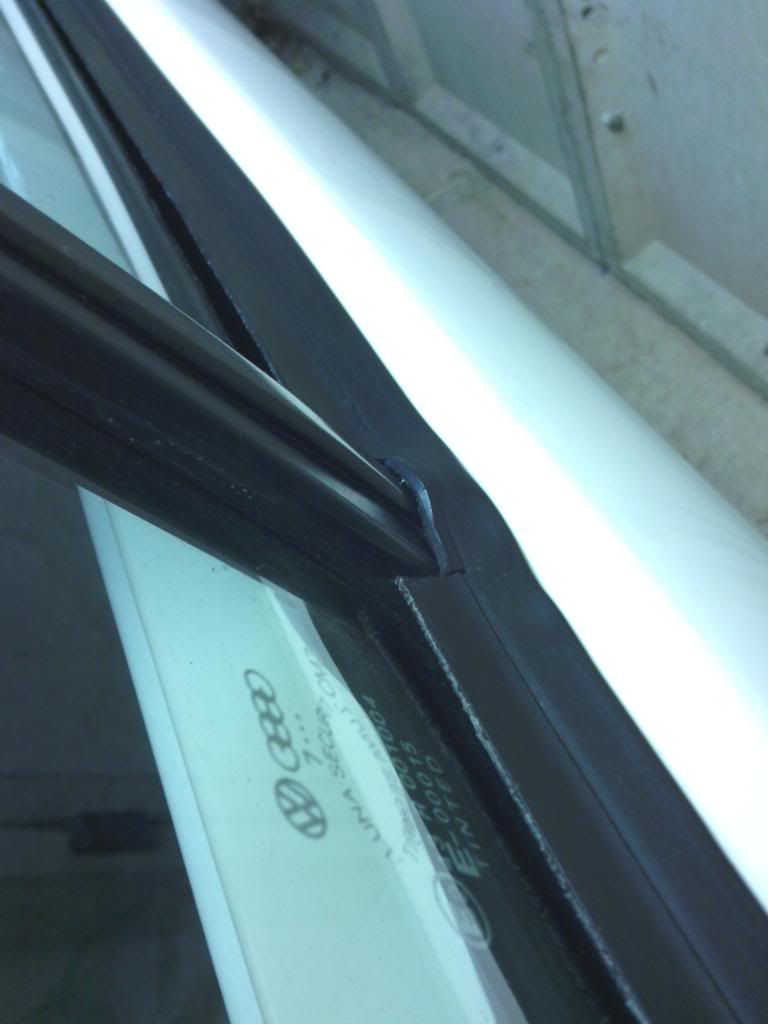
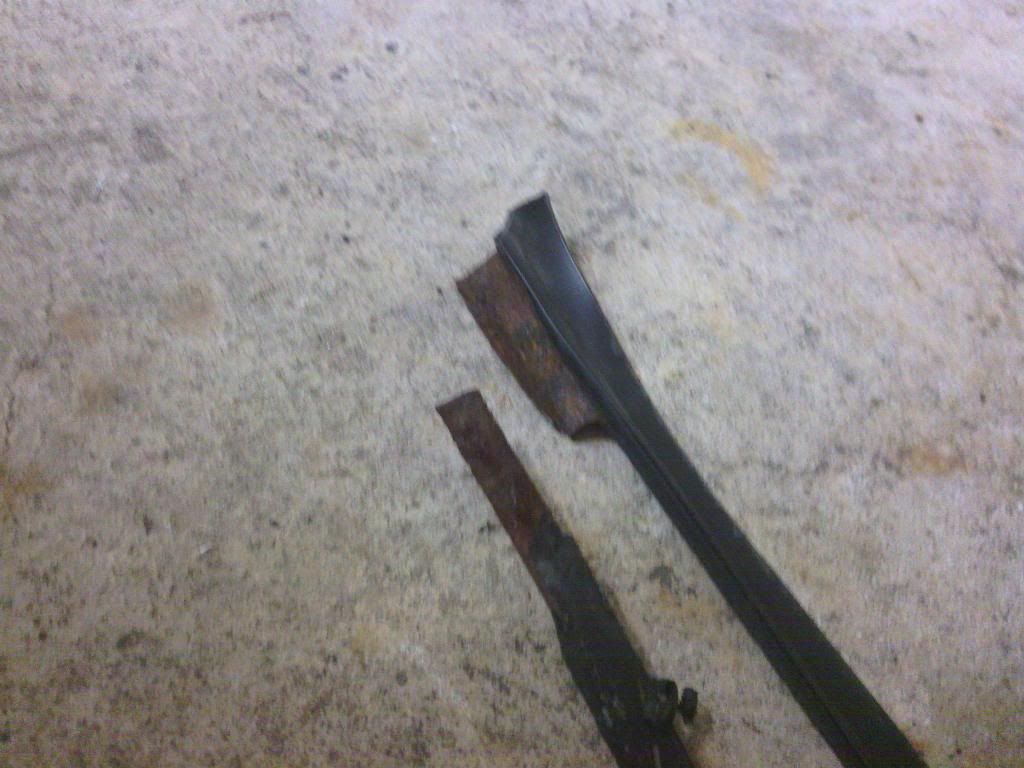
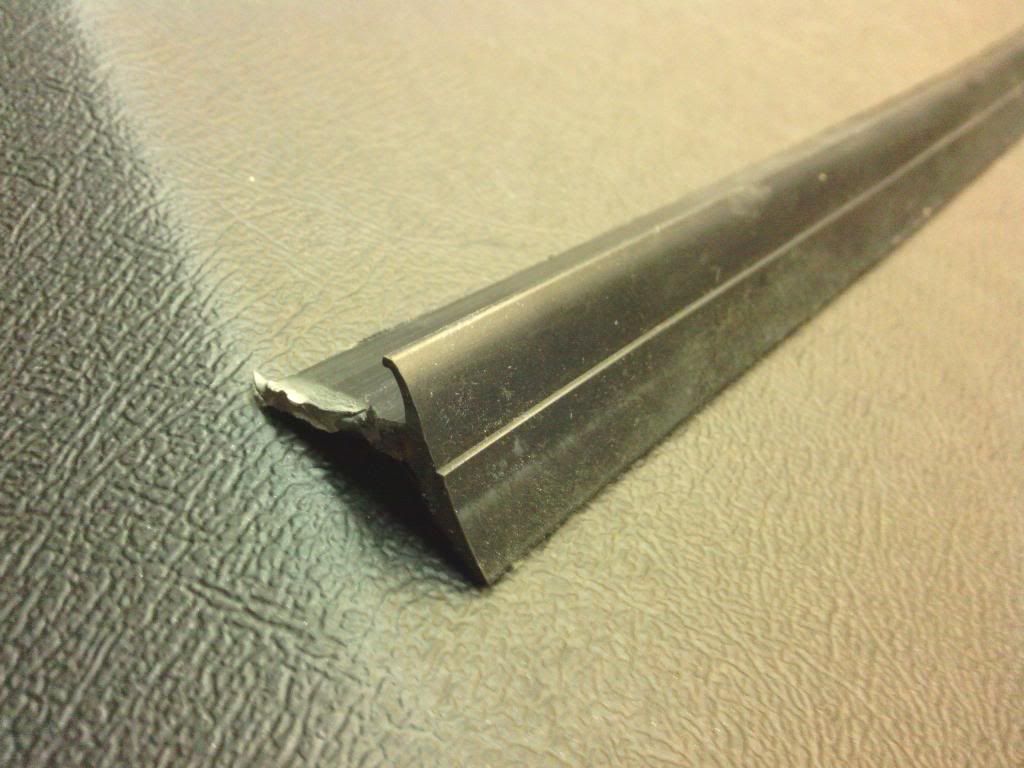
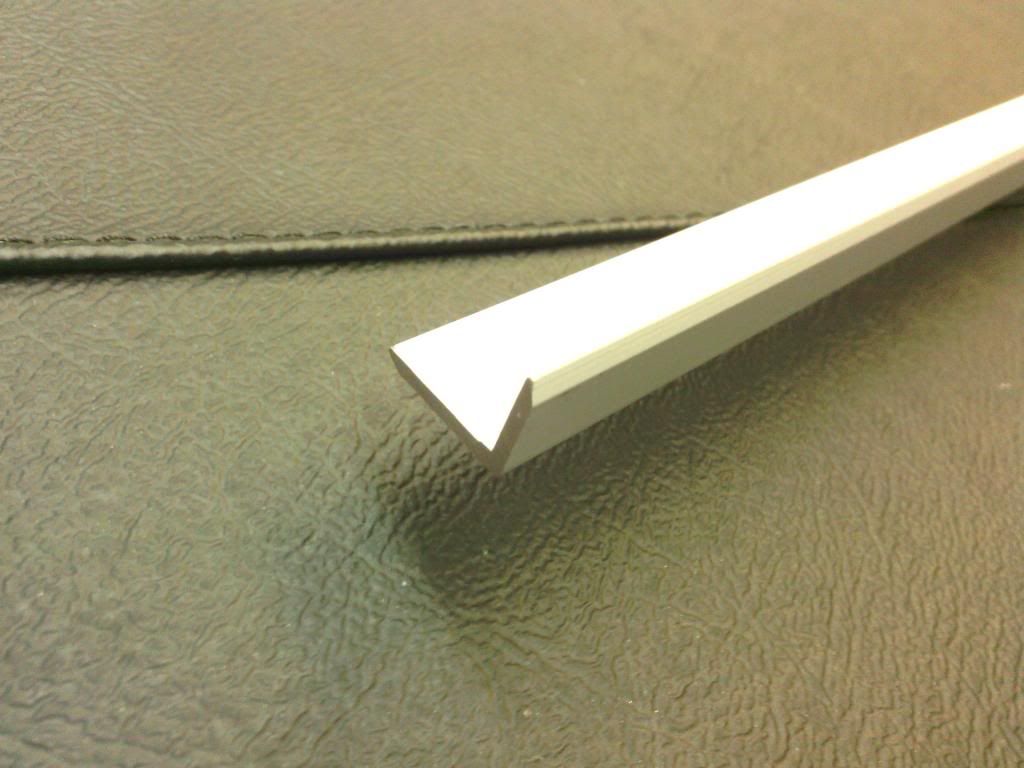
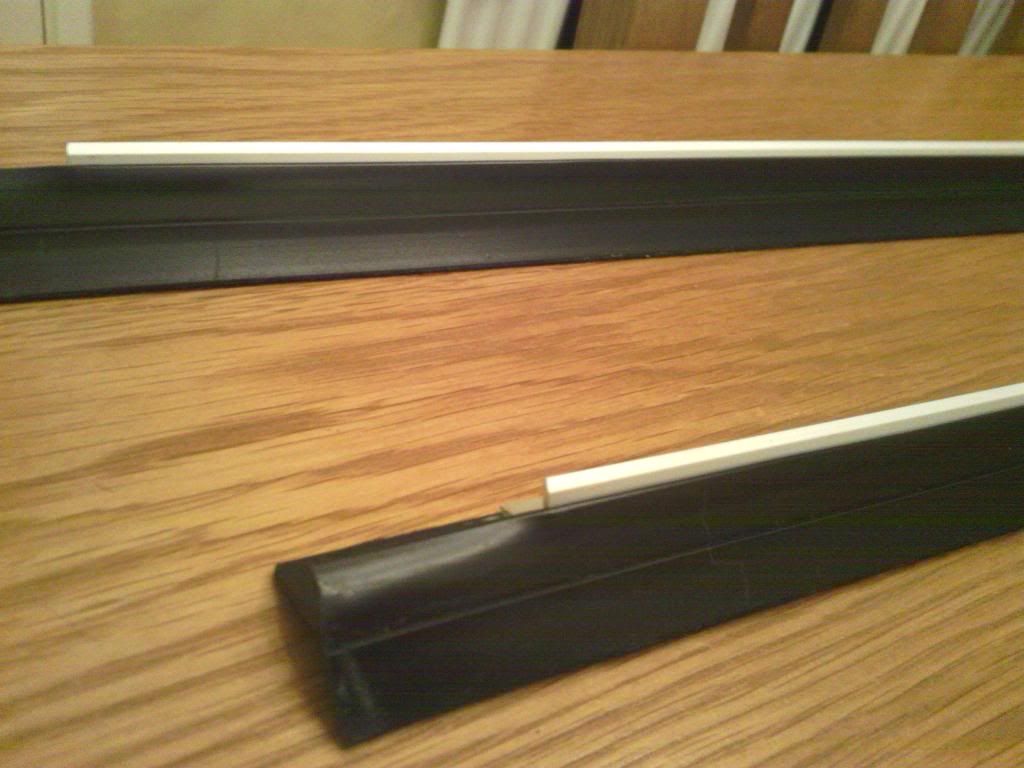
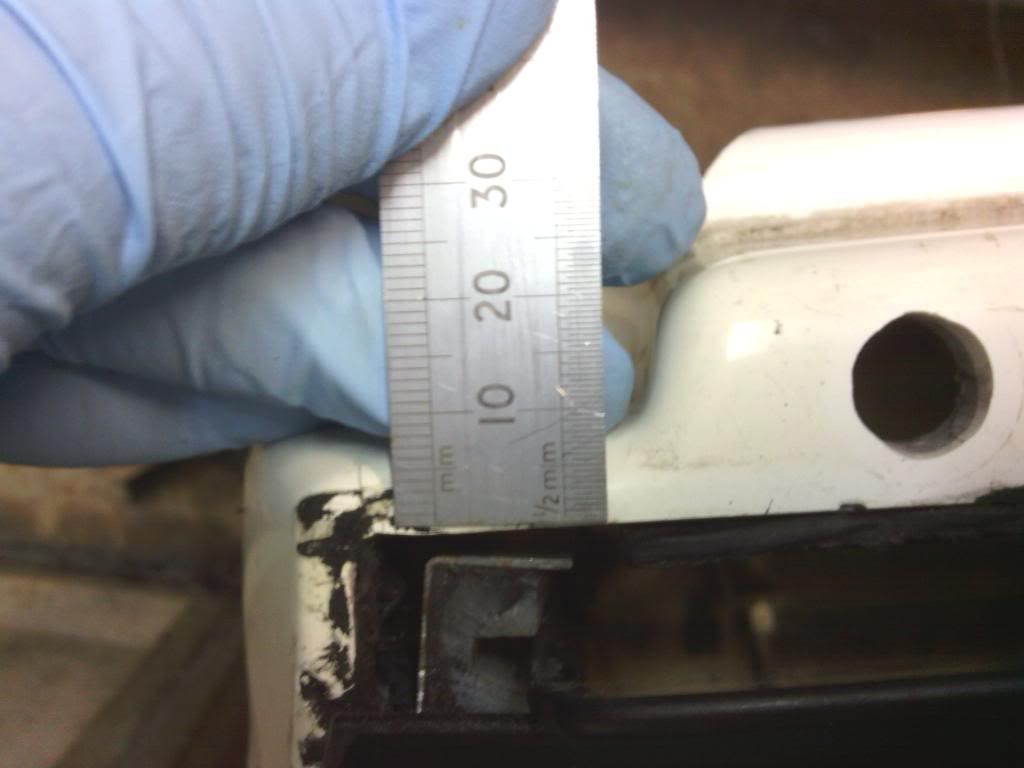
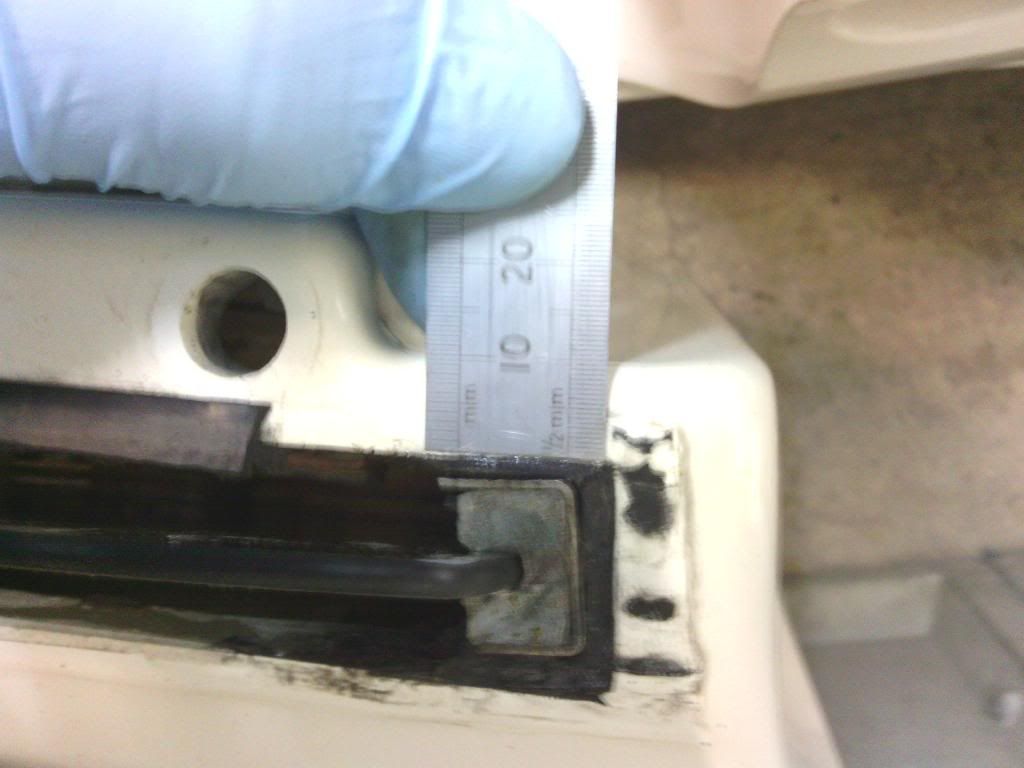
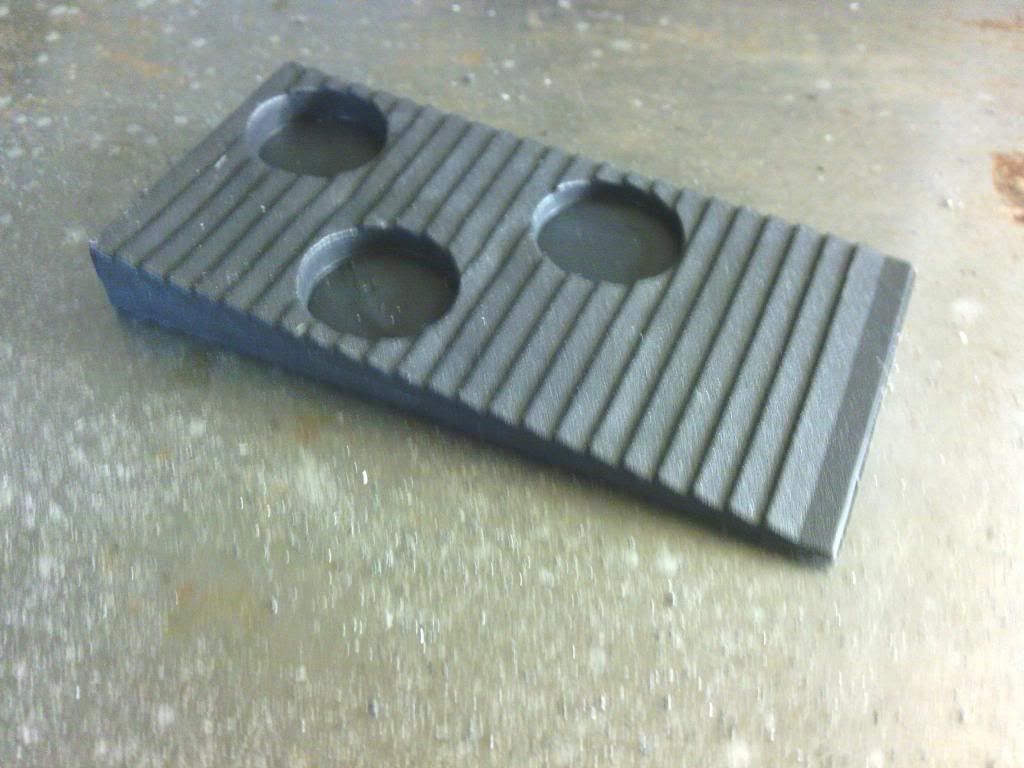
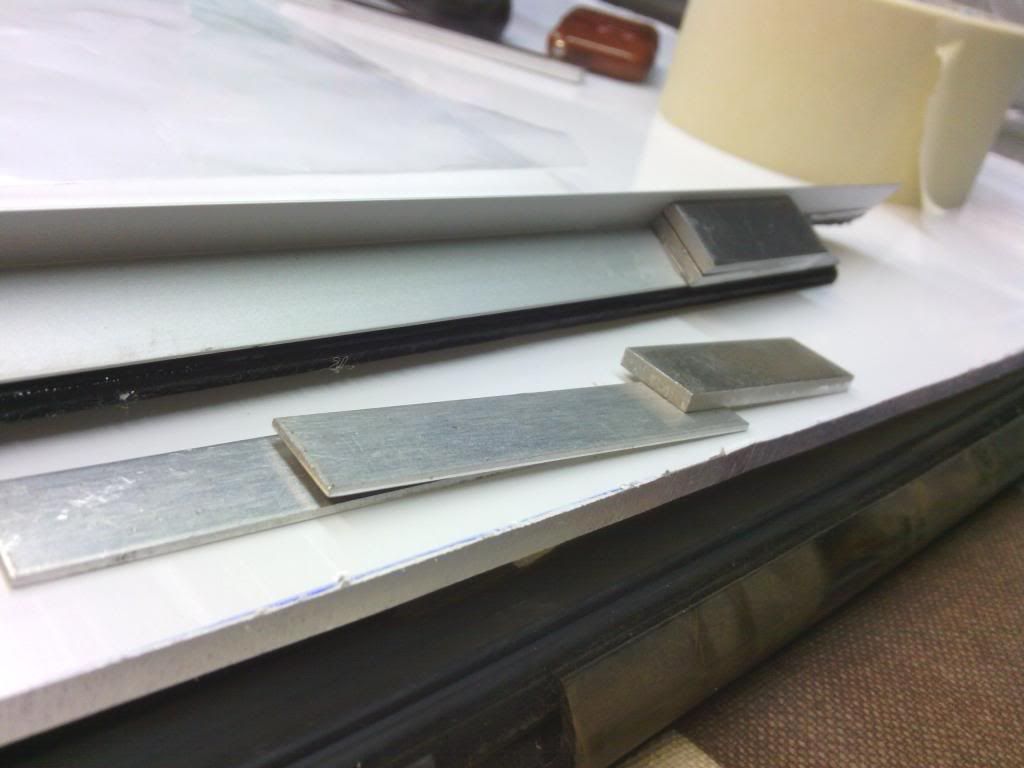
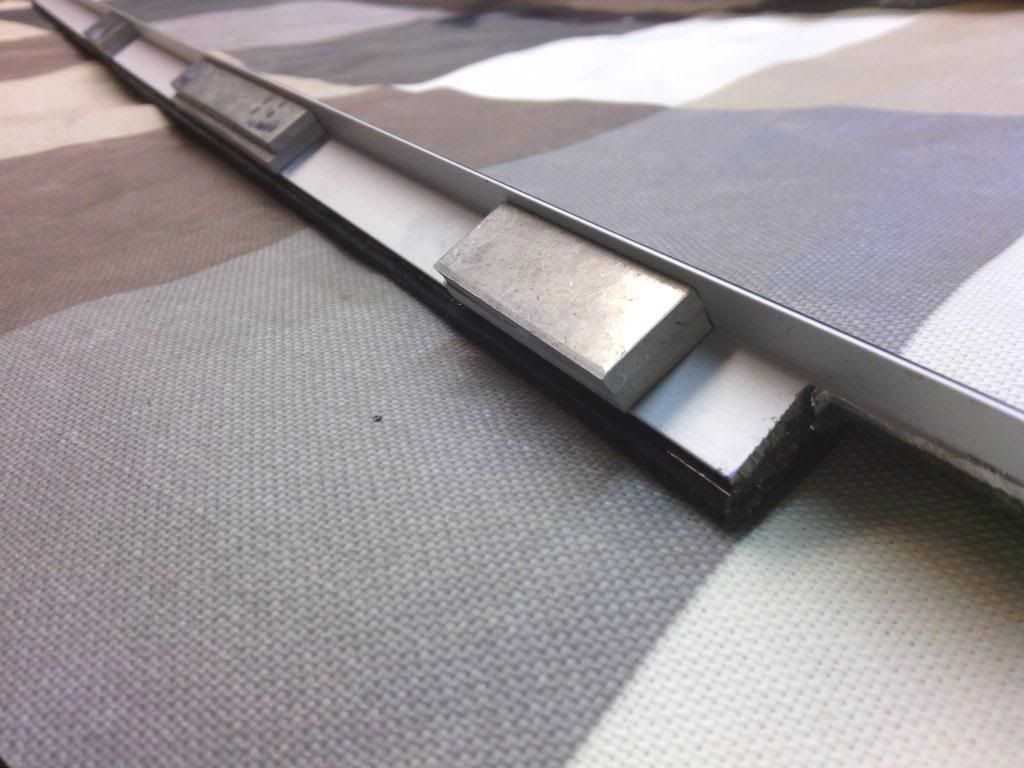
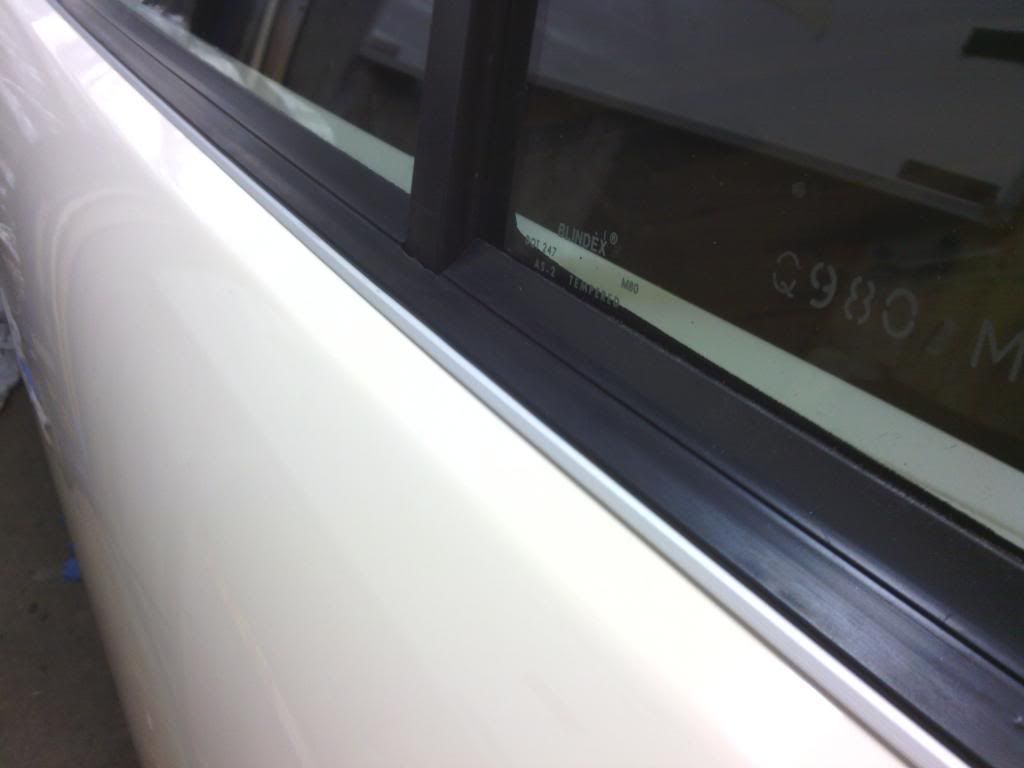
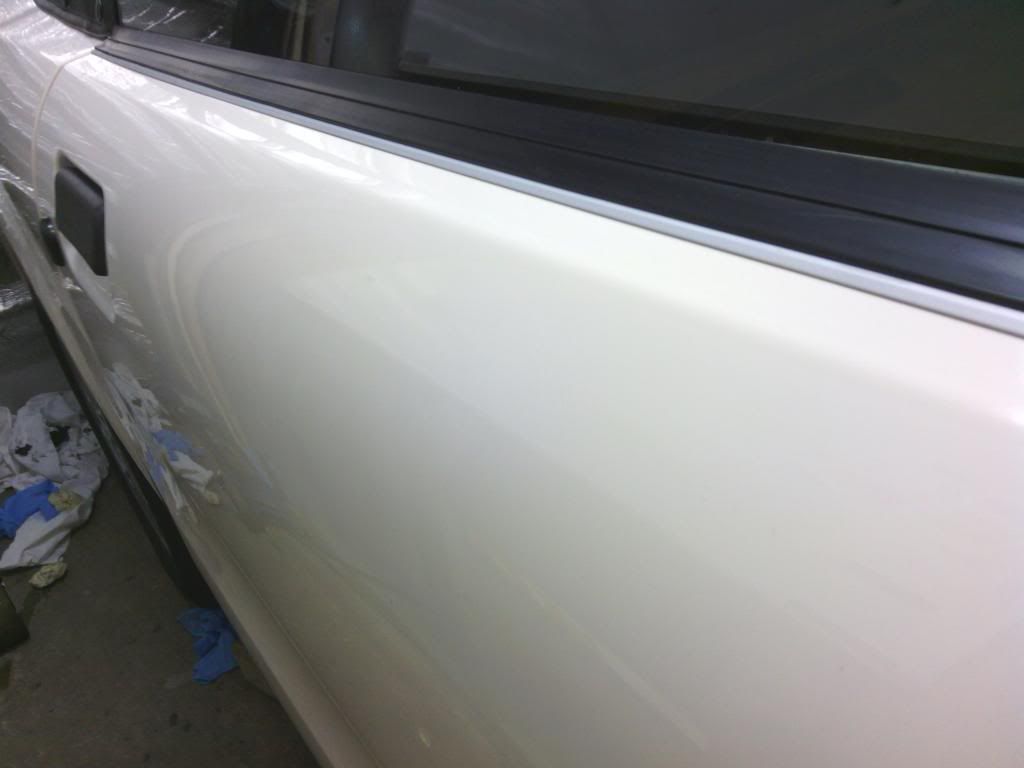
to cap the seal ends i cut some rubber blocks into triangles and bonded
them to the underside of the seal lip, this has been butted up to the rear
edge of the glass and to seal against the hood side edge

http://i120.photobucket.com/albums/o192/jindal/2012%20quantum/IMG_20130221_071336_zps0e695aa1.jpg

then with a few more sections of rubber bonded in to create extra sealing i
skimmed the whole side over with sikaflex to neaten it up and create a
watertight seal

http://i120.photobucket.com/albums/o192/jindal/2012%20quantum/IMG_20130222_072956_zps7e33a314.jpg

the fit is so close there is now no leaks at this point

because the hood sides now press quite firm to the glass rear edge to
create a seal there is a risk that the pressure of the hood could distort
the rubber end capping if the glass is wound down below the seal height,
also the glass can slide up the inside of the hood edge causing all sorts
of trouble, so i made some stops for the lower end of travel to keep the
glass slightly above seal height

http://i120.photobucket.com/albums/o192/jindal/2012%20quantum/IMG_20130227_213646_zps28cf6a15.jpg

so with those sorted i turned my attention to the hockey sticks, from the
original build they are quite loose where they meet the upright and the nut
used to secure the upright to the hockey stick was touching the glass on
full travel, so to allow me to do the glass height mod (as soon as time
allows) i removed the upright and spot welded a strip of 2mm steel to the
front edge of the upright

http://i120.photobucket.com/albums/o192/jindal/2012%20quantum/IMG_20130215_205646_zpsfe575f6c.jpg

and shaped it

then tapped the strip to M4 twice to spread the load and prevent twist

http://i120.photobucket.com/albums/o192/jindal/2012%20quantum/IMG_20130216_182620_zps84c11b40.jpg

then i run a bead of fiberglass resin and fibers because thee underside of
the hockey stick is not flat and very thin, now its a bit thicker and
stronger, the original hole remains for now (though filled in with resin)
but will hopefully be cut through with the glass slot once i get there

http://i120.photobucket.com/albums/o192/jindal/2012%20quantum/IMG_20130217_124030_zpsbc538bb7.jpg

much better, finished off with a new flocked seal for the glass guide,

http://i120.photobucket.com/albums/o192/jindal/2012%20quantum/IMG_20130218_062121_zpsedbf8d1c.jpg

the net result is a much tidier job and less leaks


On Wednesday, February 13, 2013 10:28:42 AM UTC, jin wrote:

> My old ones were terrible, since I’ve had the car they’ve really let it
> down, so much so I bought some at the first Stoneleigh show I attended
> after buying the car in the hope to fit them ASAP to vastly improve the
> appearance……. That was 3 years ago!
> Trouble is as with each job I do it took 1000% longer than it should since
> I had 2 issues.
>
> 1, I really didn’t like the proposed method of fixing – stupid glue them
> to the door tops?
>
> 2. my passenger side door glass sat 5mm further out (looking down the door
> from the rear) to the outside of the car than the drivers side, something I
> found out when fitting the hood, caused some head scratching I can tell
> you, and some drafts, so to rectify I had to move the glass runners 5mm
> inwards which would put the door waist seal 5mm further away from the
> glass, the waist seal already had a big gap to the glass so fixing it to
> the door top as per build manual with stupid glue is out of the question,
> there would be no rubber left to bond the door top too (should that be the
> other way round?) and I could not find another suitable seal to do the job,
> this caused some real head scratching, which I did plenty of, and came up
> with a plan.
>
> The old seal
>
>
>
> http://i120.photobucket.com/albums/o192/jindal/2012%20quantum/IMG_20130204_065135_zps631f55e5.jpg
>
> All wonky and split, with big gap to glass prior to moving glass 5mm
> inwards too, rusty and came off in pieces
>
>
> http://i120.photobucket.com/albums/o192/jindal/2012%20quantum/IMG_20130207_063348_zpsa3df8028.jpg
>
> New rubber seal bought from Stoneleigh
>
>
> http://i120.photobucket.com/albums/o192/jindal/2012%20quantum/IMG_20130202_110153_zps8246f8f1.jpg
>
> New anodised aluminium angle, nice quality with a bevelled edge too
>
>
> http://i120.photobucket.com/albums/o192/jindal/2012%20quantum/IMG_20130202_110133_zps1cfb49d8.jpg
>
> Glued the seal long T section to the long side of the L of the aluminium
> /9yes, using stupid glue but this is intended to make one complete
> inseparable unit)
>
>
> http://i120.photobucket.com/albums/o192/jindal/2012%20quantum/IMG_20130205_055934_zpsc503c1b9.jpg
>
> And inadvertently ended up with flocked fingers…..
>
>
> http://i120.photobucket.com/albums/o192/jindal/2012%20quantum/IMG_20130204_063330_zps50823709.jpg
>
> Voilà
>
>
> http://i120.photobucket.com/albums/o192/jindal/2012%20quantum/IMG_20130205_055934_zpsc503c1b9.jpg
>
> The extent of the door misalignment side to side
>
> http://i120.photobucket.com/albums/o192/jindal/2012%20quantum/IMG_20130206_064315_zps5c12e589.jpg
>
>
> http://i120.photobucket.com/albums/o192/jindal/2012%20quantum/IMG_20130206_064358_zps15149b22.jpg
>
>
> I had to file the inner edge of the door top back in to allow the guide to
> sit in 5mm to match the driver side, then I chocked the runners in the
> exact position all round (including the quarter glass runner because this
> was also 4-5mm out side to side)
> using plastic laminate floor wedges cut to side and bonded in
>
>
> http://i120.photobucket.com/albums/o192/jindal/2012%20quantum/IMG_20130207_063439_zpsb5e0287a.jpg
>
> To take up the misalignment from the door glass centre line to the door
> top cut out I made alloy shims to space the assembly further inwards to
> meet up with the glass, all the while the alloy angle keeps the rubber  T
> section straight and true
>
>
> http://i120.photobucket.com/albums/o192/jindal/2012%20quantum/IMG_20130211_063255_zpsceb17fe8.jpg
>
> The extent of the shimming on the passenger side, bonded with Loctite 469
> metal adhesive
>
>
> http://i120.photobucket.com/albums/o192/jindal/2012%20quantum/IMG_20130212_064453_zpse6df45d5.jpg
>
> After careful bending in the vice to get the assembly to naturally follow
> the curve of the door top I put a dab of sickafles on the rear of each
> spacer, just enough to hold the seal assembly in place secure but without
> the need to break out the chisel if I need to remove them
>
> All done
>
>
> http://i120.photobucket.com/albums/o192/jindal/2012%20quantum/IMG_20130212_070821_zpsbdd28513.jpg
>
>
> http://i120.photobucket.com/albums/o192/jindal/2012%20quantum/IMG_20130212_070845_zps2b0c2404.jpg
>
>
> http://i120.photobucket.com/albums/o192/jindal/2012%20quantum/IMG_20130212_070928_zps6bb2f44d.jpg
>
> Neat enough and in the right place too
>
> Not bad for 2 weeks work……
> Show trimmed content
>           Previous Previous
> Page *1*
>   NextNext
>

--
--
You received this message because you are subscribed to the Google Groups
"Quantum Owners Group" group.
To post to this group, send email to [email protected]
To unsubscribe from this group, send email to
[email protected]
For more options, visit this group at
http://groups.google.com/group/quantumowners?hl=en

IMPORTANT NOTE: All information presented herewith is provided on an "As Is"
basis, without warranty or the implication thereof. Neither the Quantum Owners
Club nor the individuals associated with the Quantum Owners Club or in the
preparation of the above information shall have any liability to any person or
entity with respect to liability, loss, or damage caused or alleged to be
caused directly or indirectly by the instructions contained within this or
related message(s).
---
You received this message because you are subscribed to the Google Groups
"Quantum Owners Group" group.
To unsubscribe from this group and stop receiving emails from it, send an email
to [email protected].
For more options, visit https://groups.google.com/groups/opt_out.